Pre & Post-Op Instructions
Clear guidelines to ensure a smooth procedure and comfortable recovery.


Introduction
As an oral surgeon, one of the most common questions I receive is, “Do I really need to have my wisdom teeth removed?” Wisdom teeth typically appear in the late teens or early twenties, long after the rest of your adult teeth have settled into place. For many patients, these back molars don’t have enough room to grow in properly, which can lead to pain, infection, or long-term damage.
At AVA Dental Implants & Periodontics, our goal is to provide clear information, compassionate care, and a calm, comfortable experience throughout the entire process. This guide explains why wisdom teeth removal matters, what to expect, and how to ensure a smooth recovery.
⸻
Why Wisdom Teeth Removal Matters
Wisdom Teeth Often Don’t Fit
Most people simply do not have enough room for a third set of molars. When wisdom teeth try to emerge in a tight space, they may:
• Grow at an angle
• Push into neighboring teeth
• Stay trapped under the gums or bone
• Create pockets where bacteria collect
Common Problems Caused by Wisdom Teeth
1. Infection and inflammation
Food and bacteria easily get caught around partially erupted wisdom teeth.
2. Damage to nearby teeth
Pressure from a wisdom tooth can wear down or damage the second molar.
3. Cysts or tumors
Impacted wisdom teeth can develop cysts that affect bone and nerves.
4. Crowding and shifting
Wisdom teeth may shift teeth even after braces.
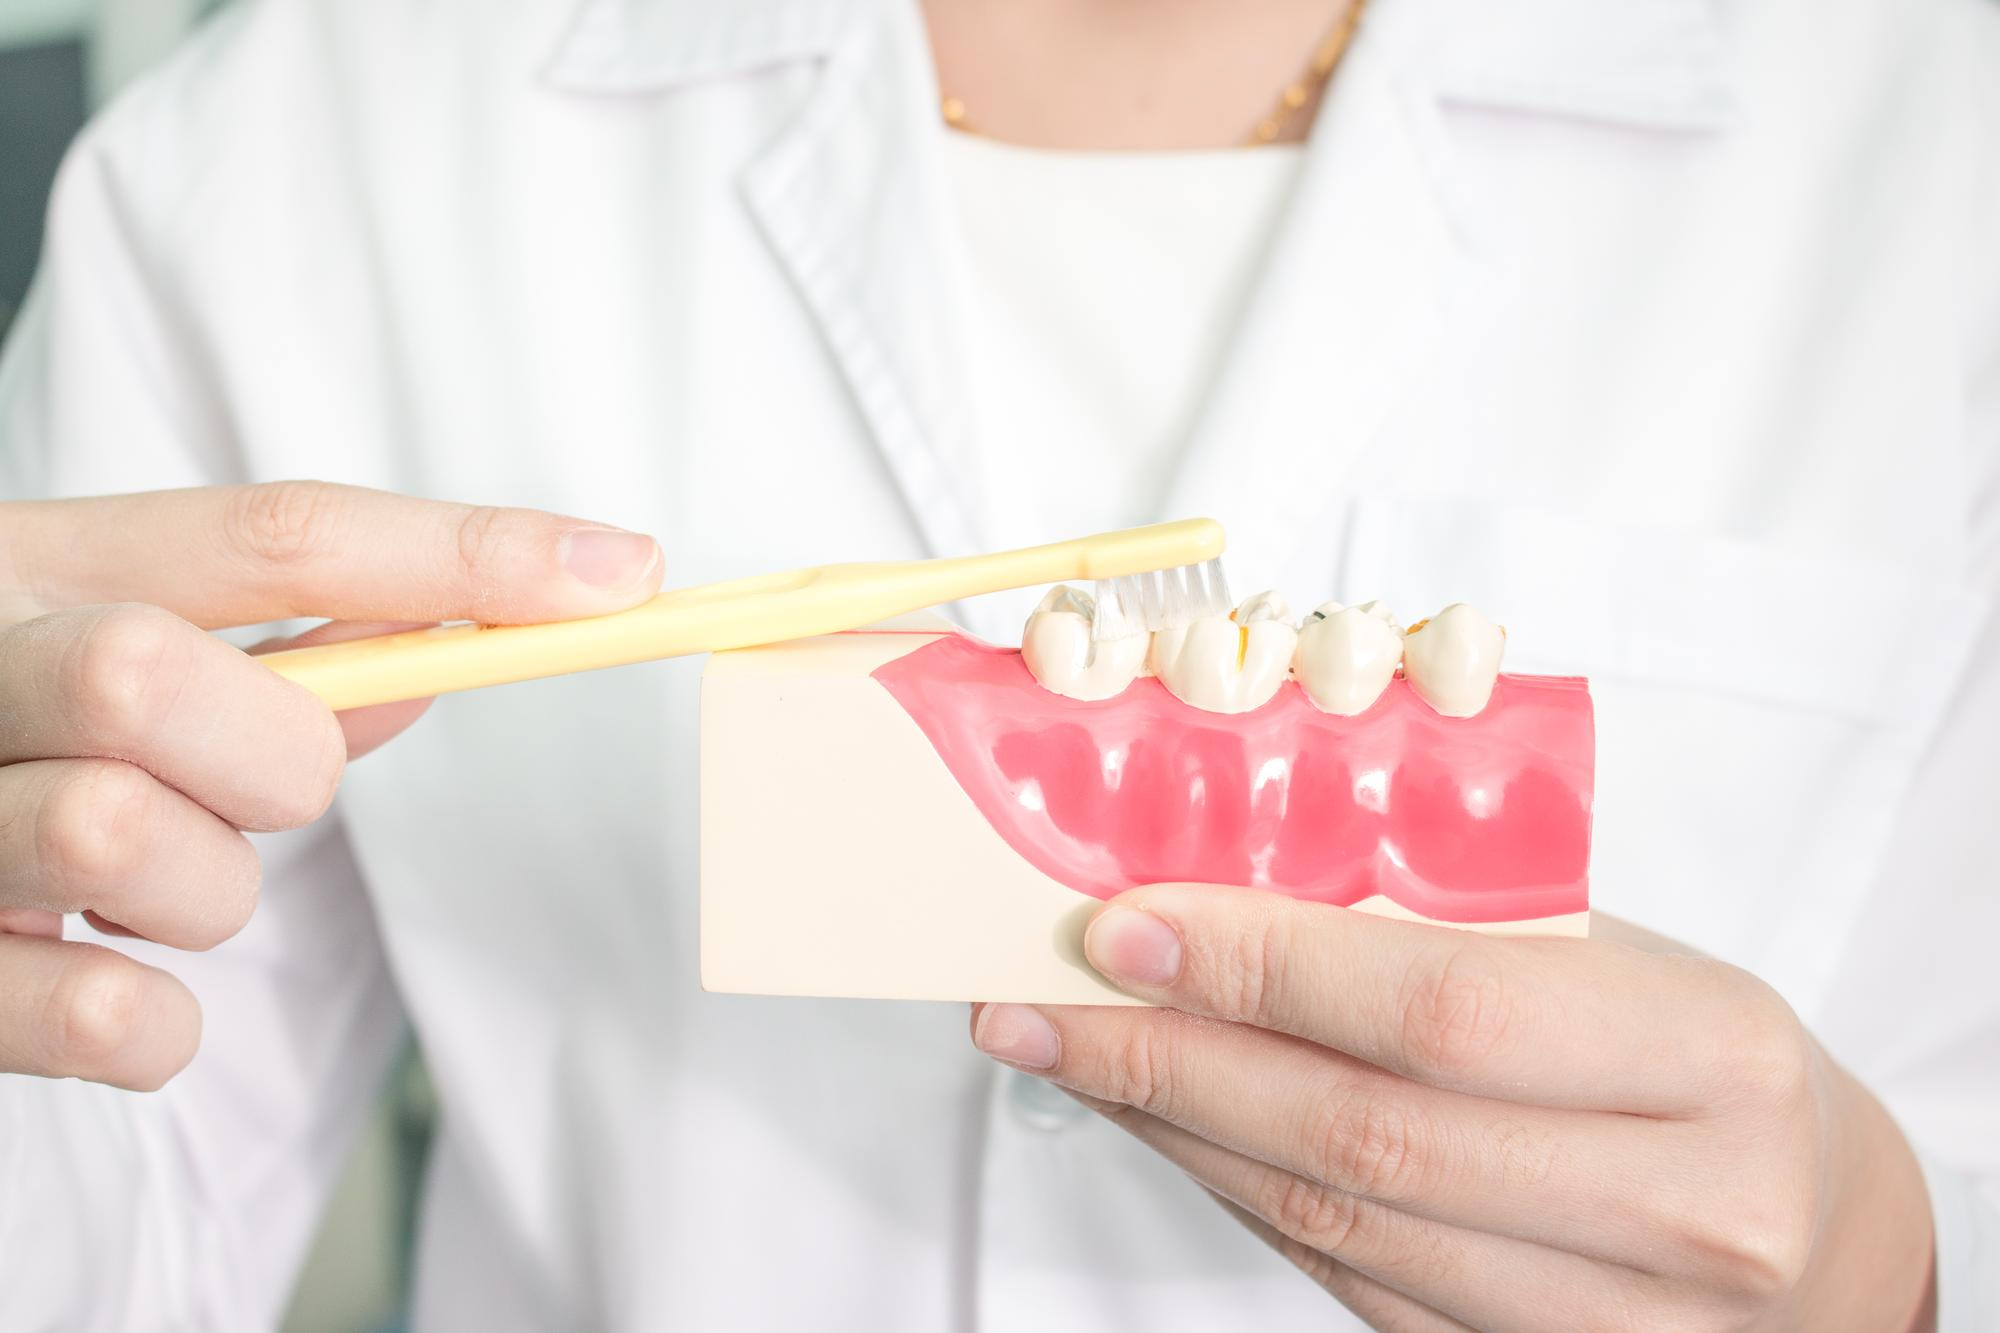
5. Tooth decay
They are hard to clean, increasing the risk of cavities.
Removing wisdom teeth early helps prevent these issues before they begin.
⸻
Common Questions Patients Ask
Do all wisdom teeth need to be removed?
Not always, but most wisdom teeth do not grow in cleanly or safely. Regular evaluations help determine the best path.
Is wisdom teeth removal painful?
During the procedure, no. Effective numbing and sedation make the experience comfortable.
How long is recovery?
Most patients feel much better after 3–5 days. Full healing takes a few weeks.
What age is best for removal?
Ages 16–25 typically offer the smoothest, safest recovery.
⸻
Understanding the Procedure in Simple Terms
Think of wisdom teeth like small plants growing in hard soil. The longer they stay, the deeper the roots become. Removing them earlier makes the process easier and safer.
The simple process:
1. Comfort and sedation
We help you relax with local anesthesia, laughing gas, oral sedation, or IV sedation.
2. Gentle removal
We carefully remove the tooth using precise techniques.
3. Cleaning and closure
The area is cleaned, disinfected, and sometimes stitched.
4. Recovery instructions
You leave with clear, simple instructions for healing at home.
Most appointments take less than one hour.
⸻
Comfort Measures and Sedation Options
Your comfort is our priority. We offer:
• Local anesthesia – Numbs the area during the procedure.
• Nitrous oxide – Helps ease nerves while staying awake.
• Oral sedation – Medication to help you relax.
• IV sedation – Deep relaxation with little memory of the procedure.
⸻
Tips for a Smooth Recovery
First 24 Hours
• Bite gently on gauze
• Use ice packs
• Take prescribed or recommended medication
• Stick to soft, cool foods
Days 2–3
• Continue soft foods
• Begin warm saltwater rinses
• Avoid straws or forceful spitting
Days 4–7
• Swelling begins to improve
• Gradually return to normal foods
• Maintain good hygiene but avoid touching the surgical sites
Avoid
• Smoking or vaping
• Heavy exercise
• Alcohol
• Touching the area
⸻
When to Call the Office
Contact us if you experience:
• Worsening pain
• Fever
• Bad taste or odor
• Excessive bleeding
• Difficulty swallowing
• Swelling increasing after day 3
We are here to support your healing process.
⸻
Long-Term Benefits
Removing problematic wisdom teeth protects:
• Tooth alignment
• Gum health
• Jawbone health
• Neighboring teeth
• Long-term comfort
This proactive step prevents future dental emergencies.
⸻
Why Choose AVA Dental Implants & Periodontics
You are cared for by a team that prioritizes:
• Safety
• Comfort
• Clear communication
• Personalized attention
• Modern technology
We make the process smooth, supportive, and stress-free.
⸻
Ready to Take the First Step?
If you or your teen needs a wisdom teeth evaluation, now is the perfect time.
Call us at 863-888-3374 to schedule your consultation.
Introduction
Tooth extraction may sound intimidating, but with modern dental techniques, the procedure is safe, predictable, and much more comfortable than many patients expect. Whether you’re facing a simple extraction or a more complex surgical removal, understanding the entire process helps reduce anxiety and makes recovery smoother.
At AVA Dental Implants & Periodontics, we guide patients through every step with clarity, precision, and gentle care — ensuring each person leaves feeling informed, comfortable, and well-supported.
This comprehensive guide explains why extractions are sometimes necessary, what happens at each stage, what sensations to expect, and how to take care of yourself afterward for the smoothest healing experience possible.
Why Tooth Extraction May Be Necessary
A dentist’s primary goal is always to preserve natural teeth whenever possible. However, extraction becomes the best or only option in several cases:
1. Severe Tooth Decay
When decay reaches deep into the tooth and compromises the structure or pulp, restoration might no longer be possible. Removing the tooth prevents infection from spreading and allows replacement options like implants.
2. Advanced Gum Disease
Periodontal disease can damage the tissues and bones supporting teeth. If the tooth becomes loose or risks affecting nearby structures, extraction protects oral health.
3. Impacted or Problematic Wisdom Teeth
Wisdom teeth often grow at an angle, remain trapped under the gums, or crowd neighboring teeth. Extraction prevents pain, swelling, gum infections, and future orthodontic issues.
4. Orthodontic or Prosthetic Needs
Sometimes a tooth must be removed to create space for braces, aligners, or dentures.
5. Cracked or Broken Teeth
A tooth that breaks below the gumline or has a vertical root fracture usually cannot be restored.
What To Expect Before the Extraction
Preparation is key to a smooth experience. Your dentist will begin with a thorough evaluation, which may include:
1. Dental Examination
The dentist checks:
- Tooth condition
- Gum and bone support
- Surrounding tissues
2. X-Rays
Digital imaging reveals:
- Root shape and length
- Proximity to nerves or sinuses
- Infection or bone loss
This helps determine whether you need a simple extraction or a surgical one.
3. Treatment Planning
Before scheduling the procedure, the dentist will discuss:
- Type of extraction
- Anesthesia options
- Expected recovery time
- Medications to avoid
- Replacement options if needed (implant, bridge, denture)
4. Pre-Procedure Instructions
Depending on your health and whether sedation will be used, you may be advised to:
- Avoid eating 6–8 hours before the appointment
- Arrange for transportation
- Stop certain medications (only with doctor approval)
-
Types of Tooth Extractions
Understanding which type you need can remove a lot of uncertainty.
Simple Extraction
Used when the tooth is fully visible and accessible.
The dentist numbs the area, loosens the tooth with an instrument (elevator), then removes it with forceps.
This procedure is relatively quick and painless.
Surgical Extraction
Required when:
- The tooth is broken at the gumline
- The root is curved or difficult
- The tooth is impacted (often for wisdom teeth)
A small incision may be made in the gum and, in some cases, bone removal or sectioning the tooth may be necessary.
This ensures a smooth, controlled extraction with minimal trauma.
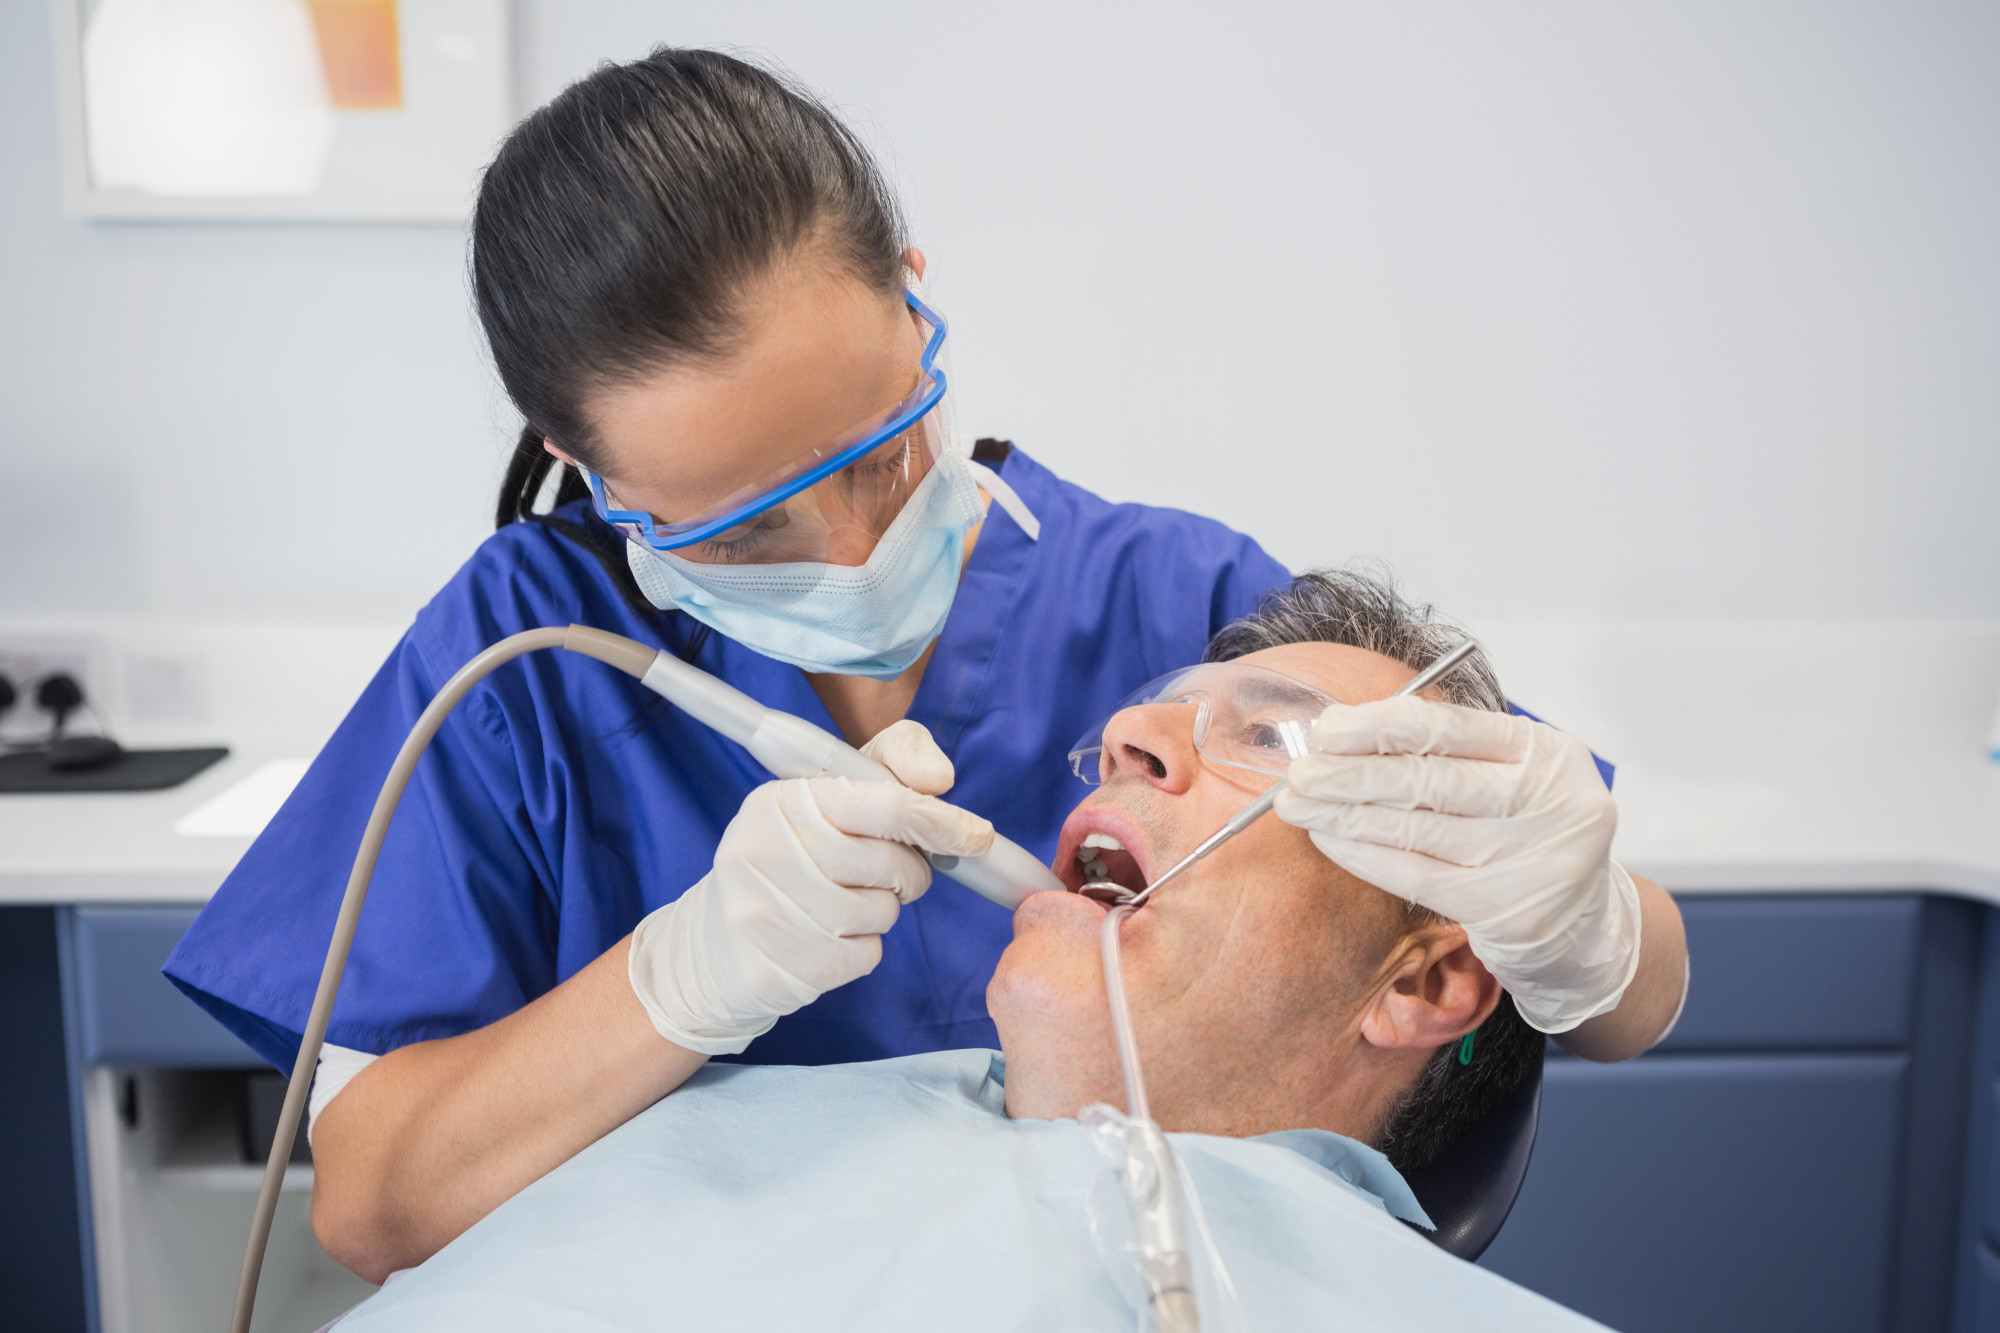
During the Procedure
Most patients are surprised by how easy and painless the experience is.
1. Local Anesthesia
The dentist numbs the tooth and surrounding tissues. You may feel slight pressure, but not pain.
2. Sedation Options
Depending on your anxiety level or complexity of the extraction, sedation may include:
- Nitrous oxide (laughing gas)
- Oral sedation
- IV sedation (for surgical extractions)
3. Tooth Removal
You may feel:
- Pressure
- Movement
But you should not feel sharp pain. If you do, the dentist can add more anesthetic.
4. Cleaning and Stitching
After removal, the area is cleaned of infection or debris.
Some surgical extractions require stitches, which may dissolve on their own.
5. Gauze Placement
Gauze is placed to help form a blood clot and control bleeding.
After the Extraction: Recovery and Healing
Proper aftercare determines how fast and comfortably you heal.
1. Bleeding Control
Bite gently on gauze for 30–45 minutes.
A small amount of oozing is normal for up to 24 hours.
2. Swelling and Discomfort
Swelling peaks around 48 hours and gradually decreases.
Use ice packs (20 minutes on, 20 minutes off) to reduce inflammation.
3. Pain Management
Your dentist may recommend:
- Ibuprofen or acetaminophen
- Prescription medication for more complex surgical cases
Avoid aspirin, as it may increase bleeding.
4. Oral Hygiene
Do NOT rinse vigorously for the first 24 hours.
After that:
- Rinse with warm salt water 2–3 times a day
- Brush carefully around the area
5. Eating Guidelines
For the first 48 hours, stick to:
- Yogurt
- Mashed potatoes
- Smoothies
- Soups
Avoid:
- Straw usage
- Hot food or drinks
- Crunchy or spicy foods
- Alcohol
6. Activity Level
Rest during the first day.
Avoid workouts or heavy lifting for at least 48–72 hours.
Signs of Healthy Healing
You should see:
- Reduced swelling after 2–3 days
- Minimal pain
- Gradual closing of the socket
By week 2, the area should feel significantly better.
Possible Complications (and How to Avoid Them)
Dry Socket
This occurs when the blood clot dislodges, exposing bone and nerves.
It can cause severe pain beginning around day 3.
To prevent it:
- Do NOT smoke or vape
- Avoid using straws
- Do not rinse aggressively
- Avoid touching the area with your tongue or fingers
Infection
Early signs include:
- Increasing pain
- Fever
- Foul taste or odor
- Persistent swelling
Contact your dentist immediately if you notice these symptoms.
When You Should Call the Dentist
Seek help if you experience:
- Heavy bleeding that doesn’t improve
- Fever or chills
- Worsening pain after day 3
- Pus or discharge
- Difficulty swallowing or breathing
Replacing the Extracted Tooth
Except for wisdom teeth, most extracted teeth should be replaced to maintain oral health.
Options include:
- Dental Implants (best long-term solution)
- Dental Bridges
- Partial Dentures
Your dentist will guide you based on bone health, budget, and long-term goals.
Conclusion
While tooth extraction may feel daunting, modern dentistry makes the procedure comfortable, predictable, and safe. Knowing what to expect — and how to take care of yourself afterward — ensures the fastest and smoothest recovery.
At AVA Dental Implants & Periodontics, our team is dedicated to providing exceptional care from start to finish so you can maintain your oral health with confidence and peace of mind.
Introduction
Dental implants are one of the most reliable and natural-looking solutions for replacing missing teeth. But what many patients don’t realize is that the success of an implant is not only based on the surgery itself—it also depends heavily on how well you care for your mouth during the healing process. Proper aftercare helps reduce discomfort, prevent infection, and ensure the implant integrates securely with your jawbone, creating a long-lasting foundation for your new smile.
At AVA Dental Implants & Periodontics, we guide every patient through a smooth recovery. This aftercare guide provides step-by-step instructions, realistic expectations, and essential tips to help you heal faster and protect your implant for years to come.
What to Expect After Your Dental Implant Surgery
It’s normal to experience mild swelling, tenderness, and small amounts of bleeding during the first 24–48 hours. Many patients compare the discomfort to a tooth extraction rather than a major surgery. You may also feel tightness around the cheeks or lips, especially if multiple implants were placed.
The healing process includes two phases:
1. Initial Healing (1–2 weeks)
This is when soft tissue closes and inflammation decreases. You will gradually return to eating normally, and discomfort typically becomes minimal within a few days.
2. Osseointegration (3–6 months)
This is the deeper healing stage when your implant fuses with the bone. You won’t feel this process happening, but it is crucial for implant stability.
Understanding this timeline helps you follow the appropriate care instructions at each stage.
How to Care for Yourself in the First 24 Hours
Control Bleeding
Mild bleeding is expected. Bite gently on gauze provided by your dentist for 30–45 minutes at a time. If bleeding continues, replace with fresh gauze and maintain pressure. Avoid spitting, rinsing, or touching the area, as these actions may disturb the blood clot.
Reduce Swelling
Swelling typically peaks around day two. Apply a cold compress to your cheek in 15-minute intervals. Keep your head elevated using extra pillows when sleeping.
Take Medications as Directed
Your dentist may prescribe antibiotics, anti-inflammatory medication, or pain relievers. Taking them on schedule helps prevent infection and manage discomfort.
Avoid Hot Foods and Drinks
Stick to cool, soft foods and avoid anything that requires chewing. Heat increases bleeding and can irritate the surgical site.
Do Not Smoke or Vape
Nicotine restricts blood flow and significantly slows healing. Avoid smoking for at least 72 hours—ideally longer for the best implant success.
Eating and Drinking After Implant Surgery
Eating properly is a major part of your recovery. In the first few days, choose foods that are soft, cool, and easy to swallow.
Recommended soft foods include:
- Yogurt
- Smoothies
- Mashed potatoes
- Scrambled eggs
- Oatmeal
- Soups (warm, not hot)
- Applesauce
- Soft noodles
As you heal, you can gradually reintroduce firmer foods, but avoid chewing directly on the implant site until your dentist confirms it is safe.
Foods to avoid during the healing period:
- Hard or crunchy snacks (nuts, chips, popcorn)
- Sticky or chewy foods (caramels, candies, gum)
- Spicy foods
- Very hot foods and beverages
- Alcohol during antibiotic use
- Carbonated drinks for at least 72 hours
Remember: Chewing pressure should be minimized on the implant area to allow proper osseointegration.
Oral Hygiene After Dental Implant Placement
Keeping your mouth clean is essential to prevent infection, but you must do it gently during the first few days.
First 24 hours
Avoid brushing the surgical area. You may brush other teeth carefully, avoiding spitting or vigorous rinsing.
After 24 hours
You may begin gently rinsing your mouth with warm saltwater several times a day, especially after meals. Do not use commercial mouthwash unless your dentist recommends it.
After the first week
You can brush around the implant area with a soft-bristled toothbrush. Be gentle but thorough. Continue saltwater rinses until your dentist advises otherwise.
Activity Restrictions and Recovery Tips
Avoid strenuous exercise for 48–72 hours
High physical activity increases blood pressure and may cause prolonged bleeding or throbbing at the surgical site.
Avoid drinking through straws
The suction can dislodge the blood clot and slow healing.
Rest well
Your body heals faster when you allow yourself time to rest, especially during the first 48 hours.
Common Symptoms and When They Improve
Swelling
Should reduce significantly by days 3–4.
Bruising
Occasionally appears on the cheeks or jaw and may take a week to fade.
Mild pain
Usually controlled with medication and improves within a few days.
Stitches
If non-dissolving stitches are used, they will be removed by your dentist in about 7–10 days.
If you experience symptoms that worsen instead of improving, contact your dentist immediately.
Signs You Should Call Your Dentist
While complications are rare, early attention prevents more serious issues. Contact your dental provider if you notice:
- Persistent or severe pain that doesn’t improve after several days
- Excessive bleeding that doesn’t stop with pressure
- Swelling that gets significantly worse after day three
- Fever or chills
- Pus or discharge from the surgical site
- A bad taste that doesn’t go away after rinsing
- Loose or moving implant components
- Difficulty opening your mouth
These signs may indicate infection or improper healing and need immediate evaluation.
Long-Term Implant Care for a Lasting Smile
Healing doesn’t stop after a week. Proper implant maintenance helps ensure your new tooth lasts for decades.
Maintain excellent oral hygiene
Brush twice a day, floss daily, and consider using an interdental brush to clean around the implant.
Visit your dentist regularly
Professional cleanings and checkups help monitor implant health.
Avoid habits that put stress on implants
- Chewing ice
- Biting hard candies
- Using teeth as tools
- Grinding or clenching (ask about nightguards)
Protect your implant from gum disease
Peri-implantitis is the leading cause of implant failure, and good hygiene is your best defense.
How Long Does Complete Healing Take?
Although many patients feel back to normal within a few days, full implant healing occurs in stages.
- Soft tissue healing: 1–2 weeks
- Bone integration (osseointegration): 3–6 months
- Final crown placement: after your dentist confirms stability
Every patient heals differently, but following aftercare instructions closely gives your implant the best chance of long-term success.
Conclusion
Recovering from dental implant surgery is much easier when you know what to expect and how to care for your mouth properly. By following these aftercare guidelines—managing swelling, keeping the area clean, eating soft foods, and avoiding harmful habits—you help ensure your implant heals smoothly and securely.
At AVA Dental Implants & Periodontics, our goal is to help you enjoy a healthy, confident smile for life. If you ever have questions or concerns during your healing journey, our team is always ready to support you.